We use cookies to enhance your browsing experience, serve personalized ads or content, and analyze our traffic. By clicking "Accept All", you consent to our use of cookies.
Customize Consent Preferences
We use cookies to help you navigate efficiently and perform certain functions. You will find detailed information about all cookies under each consent category below.
The cookies that are categorized as "Necessary" are stored on your browser as they are essential for enabling the basic functionalities of the site. ...
Always Active
Necessary cookies are required to enable the basic features of this site, such as providing secure log-in or adjusting your consent preferences. These cookies do not store any personally identifiable data.
No cookies to display.
Functional cookies help perform certain functionalities like sharing the content of the website on social media platforms, collecting feedback, and other third-party features.
No cookies to display.
Analytical cookies are used to understand how visitors interact with the website. These cookies help provide information on metrics such as the number of visitors, bounce rate, traffic source, etc.
No cookies to display.
Performance cookies are used to understand and analyze the key performance indexes of the website which helps in delivering a better user experience for the visitors.
No cookies to display.
Advertisement cookies are used to provide visitors with customized advertisements based on the pages you visited previously and to analyze the effectiveness of the ad campaigns.
Here is the door before we started with the power conversion. Soon the manual crank will be gone and the pure convenience of power will take its place.
If you are like many of us who have at one time or another opted for a less expensive vehicle to build, then this how-to will be of interest to you. At the cost of certain features or creature comfort conveniences—mundane items like power windows and locks—we often begin with what may be considered a strippo model or a basic transportation car that is … well, available. These cars can, after all, make for a great foundation that can easily be personalized, just like we are doing here.
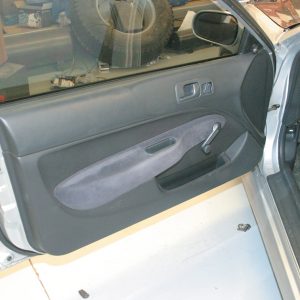
If you are unfortunate enough to own such a vehicle—like the Civic DX, which never offered power windows—then the thought of adding them has no doubt crossed your mind. The notion that power windows would make your vehicle just a little bit nicer is a sound one and that is where an Electric-Life power window kit comes into play.
Electric-Life offers several different types of electric window kits, along with a full range of accessories for just these types of cars. And how about this little-known fact: Electric-Life power window systems are standard equipment on all Ferraris. So, with a set, you could say that you have the same!
Before the door panel could be removed, the door pull was unscrewed and removed from the door.
The panel behind the door handle needed to be removed as well.
The clip that secures the window crank was removed and discarded.
Finally, the speaker grille was removed, as well as the screws that secure the door panel behind it.
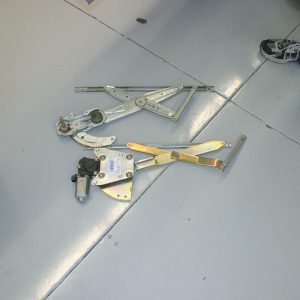
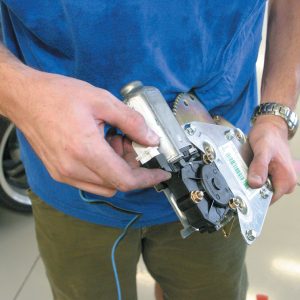
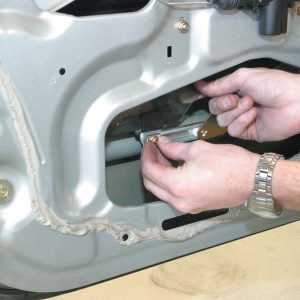
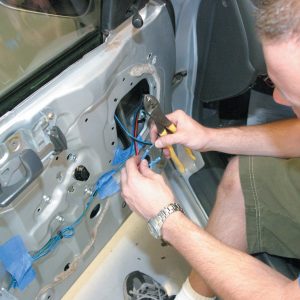
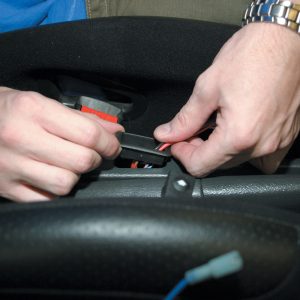
In addition to the typical universal-style power window kits, Electric-Life manufactures a large number of vehicle-specific kits that completely replace the manual window regulator and can also be used to replace a faulty OEM power window regulator. In our case, for the ’00 Honda Civic, Electric-Life builds a complete, custom-fit, bolt-in window kit. Along with the window kit, a complete switch kit and wiring harness were also obtained from Electric-Life.
The door panel was removed by pulling it away at the bottom and lifting up to clear the inner door panel structure.
Here you can see the factory manual window regulator and the four bolts that secure it to the door.
The four bolts around the crank were removed, along with two bolts that secured the bottom of the regulator to the door.
A pair of bolts secures the window glass to the regulator. Both of these were removed and the glass lifted up.
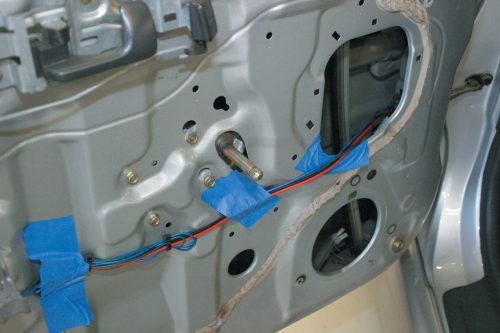
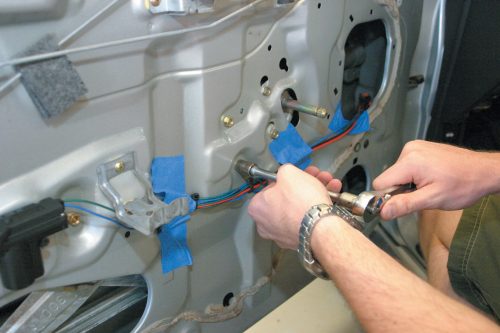
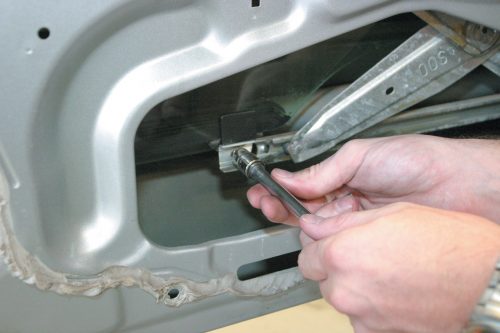
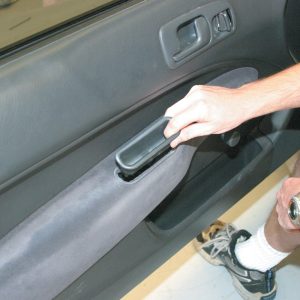
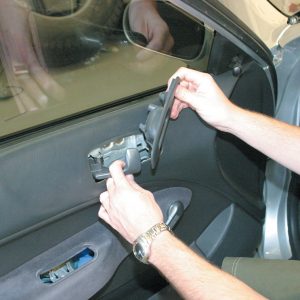
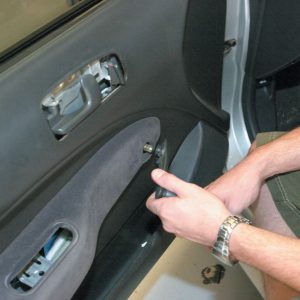
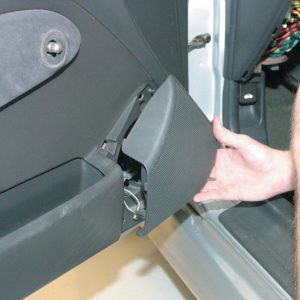
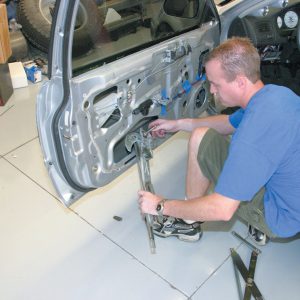
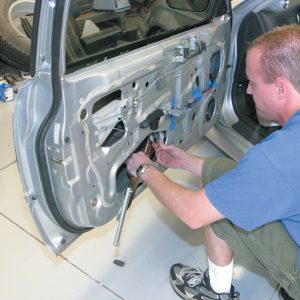
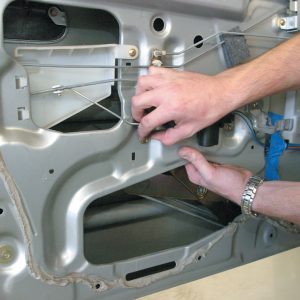
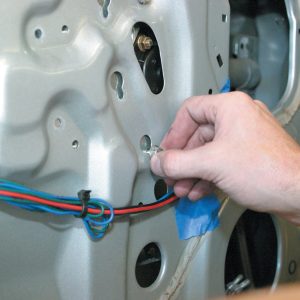
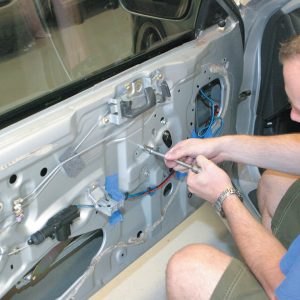
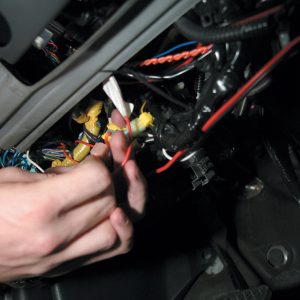
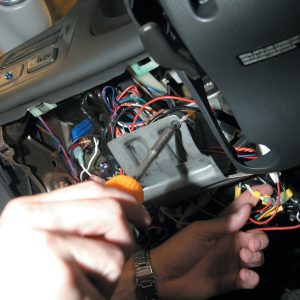
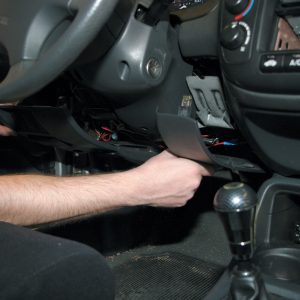
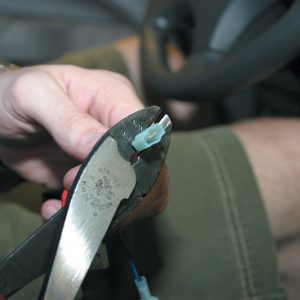
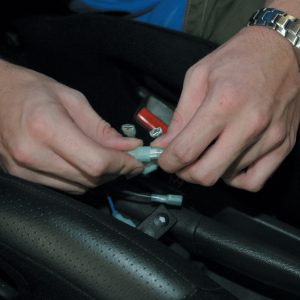
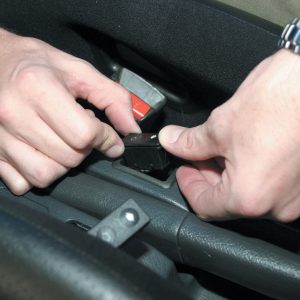
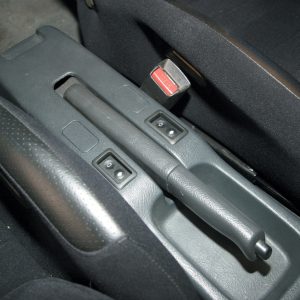
To do the job right and to get the lowdown for this how-to, we took the car and the kit down to Unique Car Audio in Gilbert, Arizona, to document the installation. Check out the following photos and see if you feel this is something you can do in your backyard to add a bit of convenience to your ride.
Another thing: when customizing the interior of your car, it is often easier to replace the existing window mechanisms and include a power set for that custom touch. Either way, this is an inexpensive way to add a bit of class to that tuner car of yours.
A few strips of masking tape hold the window in its up position so it will not interfere with the removal and installation of the window regulators.
With everything disconnected, the manual window regulator was removed through the large hole in the door and set aside.
Here you can see the Electric-Life electric regulator (bottom) and manual regulator (top).
Before installing the new electric window regulator, the wiring was plugged into the motor, as it is difficult to access once the regulator is in the door. (Trust us!)
The new regulator is simply fit into the door through the same hole that the manual regulator was removed from.
The new unit was test-fit before bolting on the screws.
Using factory holes and the included hardware, the power regulator was secured to the door.
Next, the window was dropped back into position and secured to the regulator using the factory hardware.
Since our switches were going to be mounted in the center console, only two wires were run into each door. These wires were connected to the leads coming from the window motors.
To supply power to the system, the wiring harness was tapped into the ignition wiring beneath the dashboard.
The ground wire was secured to the metal chassis of the Honda, also beneath the dash.
With the wiring connections completed, the lower dash panel was reinstalled and all wiring was run through the center console.
The loose ends of the wiring were run up through the factory opening in the center console and through the Electric-Life switch plate.
Quick disconnects were added to the switch wiring to allow them to be removed in the future, if needed.
The switches were plugged into the wiring, making sure to test the polarity of the motors to see if it was correct.
With the wiring connected, the switches were snapped into place.
The finished switches fit perfectly into the blank spots in the Honda center console.
With the window crank removed, the opening in the door panel was filled with fiberglass and the panel was re-covered with matching suede.
Pete Epple comes to TheAutoBuilder with a lifelong love of cars and racing. Pete has been in nearly every form of professional motorsports, written for over 30 print and digital magazines, as well as making appearances on numerous television shows in a professional career that has spanned nearly 25 years.